Sunday, August 15, 2010

Paper Dogwood Arrangement

So among a top of the line kitchen, large collection of designer handbags and a live in stylist, one item essential to my wish list should I hit the lottery is flowers. Everywhere. Like we're talking arrangements in every room of my house. Oh and while I'm at it, I'd hire a florist to take care of it all. Because well, I'll need to keep my schedule free for jet setting and whatnot. Plus, did you ever let a vase of flowers sit around for too long and then you catch a wiff of rotting plant material when you dump the water down the drain? Ugh.....could be possibly one of the worst smells ever. Rich ladies such as myself shouldn't have to be subjected to stuff like that...

So, yeah. Why am I telling you all of this? Well, because the reality of my life is that I can't justify spending money to keep even one arrangement in my dining room every week. Because of my love all of things green, I've filled the main level of my house with tons of plants. Unfortunately it's just not the same as a big beautiful bunch of flowers to greet me when I walk in the door everyday. So, I created the next best thing....a flower arrangement that lives forever. And even better - NEVER needs water! Woot!


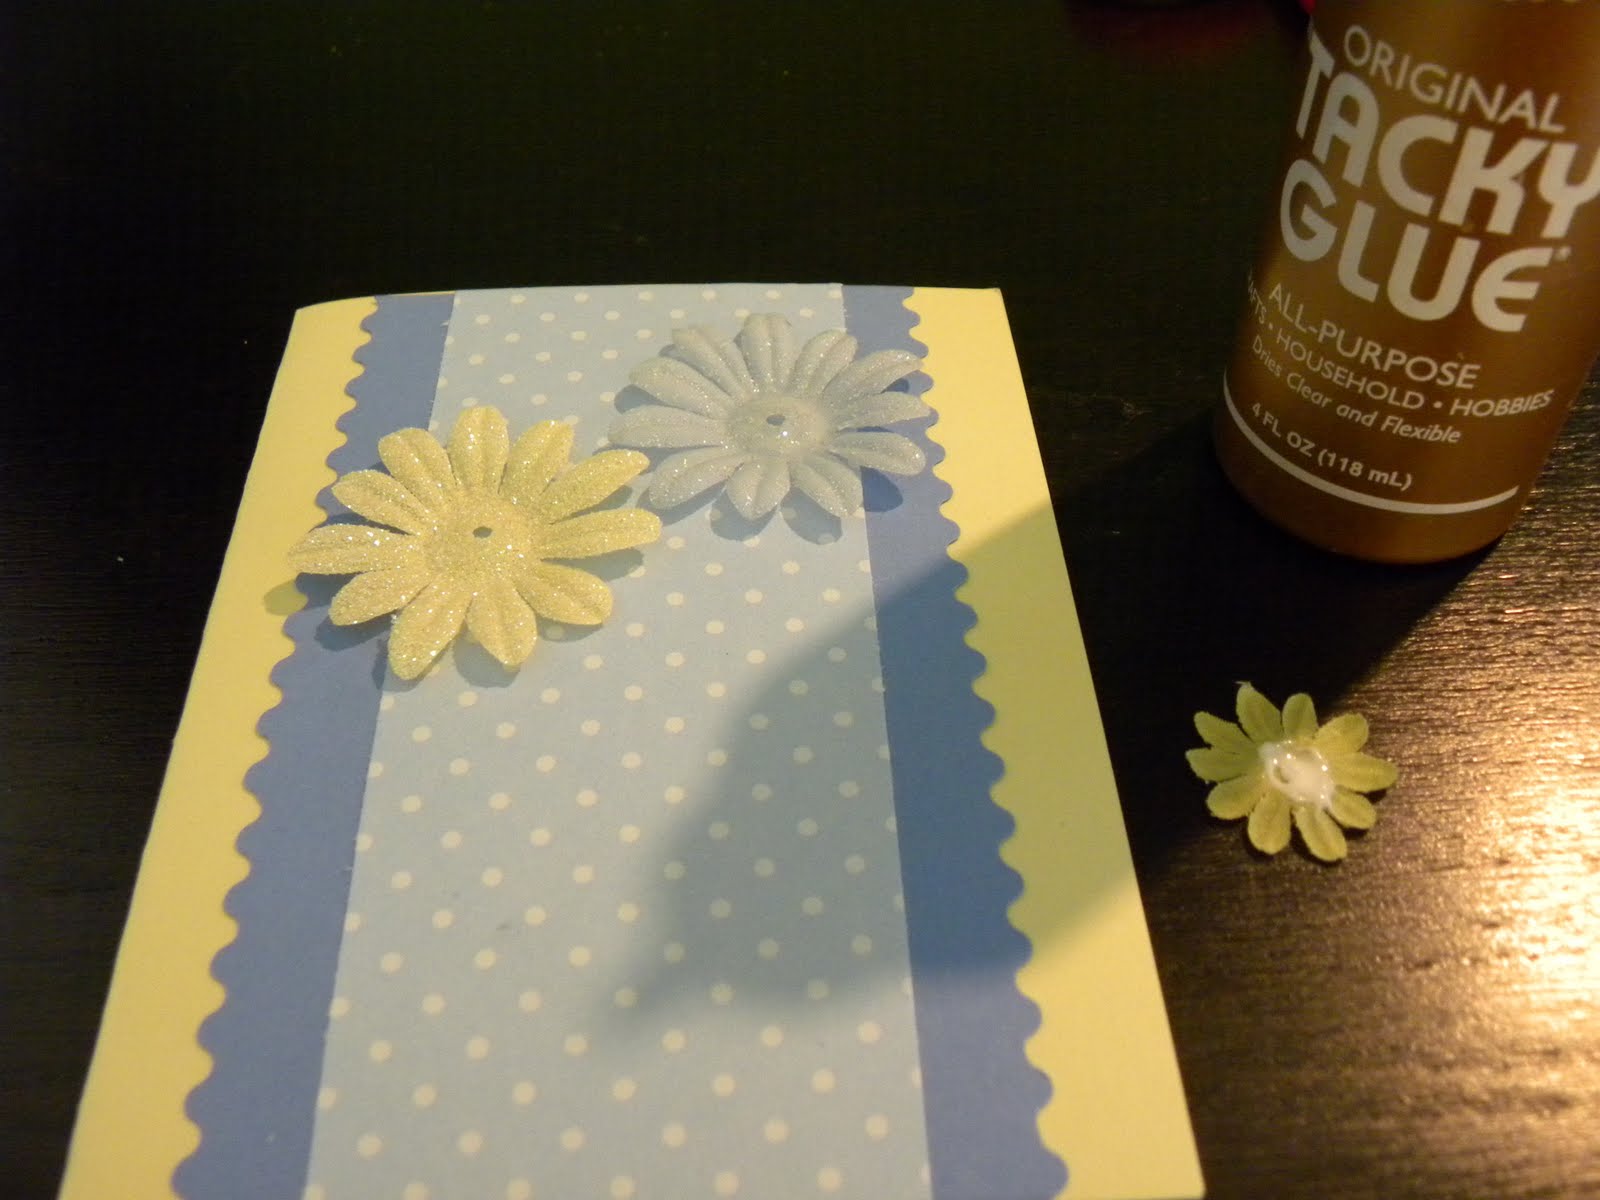
I've seen quite a few different types of handmade flowers on various crafting blogs and I had always wanted to try my hand at it. Some were made with just paper and others made completely out of a combination of yarn, felt and fabric. And some of the techniques used really made the flowers look tasteful and realistic and not like some kindergarten art project. Well, I cheated on this first go around because I didn't make the flowers. These are 3d dogwood flower stickers I scored 75% off at Michaels.


I regularly scour their clearance rack for embellishments and whatnot for my card and scrapbook projects. When I spotted these, I knew exactly what I'd use them for. I love dogwood trees because when they bloom it means spring has officially started. I have a white one in my backyard and would like to add a pink one somewhere one day.

The branches I used for my dogwood arrangement sadly came from the other tree, a flowering pear, that used to also reside in the backyard. It split during a strong wind storm we had one night and I was heartbroken to take it down. On the bright side, now it kinda gets to live on inside :)

All that was involved here was cutting out several dozen leaves from some spring green card stock and a little hot gluing. I anchored the branches in the vase with some river rock. This was really the most difficult part of the whole process in order to get the branches to stand up correctly and in some sort of eye pleasing display. I have it on a table in my entryway and it brings nice contrasting color to the room. This was pretty novice work and it would have been more interesting to create my own flowers but whatevs. These stickers were too pretty to shove in a scrapbook.

Here's some examples of the projects I mentioned earlier. Too freakin' cool huh?

Pom Pom Flowers

Paper Cherry Blossom Display

Felt Flower Winter Wreath

Fabric Flowers

Paper Flowers

Now that I'm back to the full time grind while also trying to soak up every moment outdoors this summer, my time to craft is limited. I still have been cooking up a storm and whipping up some delightful cocktails so you'll definitely see a lot more content from the kitchen. Hope everyone is enjoying their summer!

Saturday, July 3, 2010

Gardening: The Sequel

So I've had my veggies and herbs planted for about 2 months and thought I'd follow up with a couple pics. I'm an admitted gardening n00b when it's comes to veggies . This is only my 2nd year so I'm definitely still a beginner. If any of you have pondered starting one, I'd like to impart the bits of wisdom I have picked up from fellow gardeners. And if you're experienced and can add to my list, I invite you to comment below. This is a learning process...


1) It all starts with great soil. This year I've mixed my regular top soil with a few wheelbarrels full (I'm sure that's not correct grammar but I'm too lazy to look it up)of mushroom soil/compost. What exactly is mushroom soil you ask? You can read more about it
here. Long story short, it's super enriched stinky soil that acts like a megavitamin to your plants. From my experience thus far what else can I say but holy crap! This photo was taken after they had only been in the ground for 2 1/2 weeks...


2) Starting from seed is totally worth the little effort it takes. Unless you only have outdoor space for a few plants then by all means, save yourself the grief and just buy your plants. If you've got the room for several, go for it. I start them in small peat pots and then transplant them to larger pint sized plastic pots before putting them in the ground. Don't bother using that special seed starter soil. It's very fine and I think it's hard for my seedlings to get a good root system going that way. Regular potting soil works just fine. I spray the seedlings with a spray bottle in the beginning to water them so I don't flood out the seeds (which is VERY easy to do). You can also get yourself one of those trays with the clear plastic lid to put your pots in. It creates a greenhouse effect. But, make sure to remove it once your sprouts pop up. They don't need as much moisture then. I learned this the hard way last year when half my pots started to grow mold and I lost those plants.


Big Boy Tomato


3) I know this sounds like common sense but YOU HAVE TO WATER ALMOST EVERY DAY. If it rains, sure, obviously you can skip like 2 days. But, as long we're getting hot,sunny weather, get your hineys out there and give those gardens a drink. I can't tell you how many people comment on how big my plants seem to be next to everyone elses. Well that's the main reason why. Believe me, the last thing I like doing at night is wrestling the damn hose all over the yard but that's part of the deal.


Roma Tomato


4) Maintenance, Maintenance, Maintenance:

If your herbs are starting to flower, especially your basil, you'll have to keep up with plucking the flowers off to extend the life of your plant. For some reason, this doesn't seem to work with my dill or cilantro. I'm guessing their growing cycle just ends earlier? I've never really taken the time to figure that one out.

Have plants in cages? Make sure as they grow that you help them along but feeding their branches up and inside the cage. Once those branches start to bear fruit it's tough for them to support that weight if the branches themselves are not well supported.

And finally, weeding. Ugh, yes, weeding. Unless you're letting your weeds get gigantic and choke out your plants, I really never understood the point. If someone can enlighten me, I'd appreciate it. Anyway what I tell myself is that it's a good workout for my ass and then it's like I'm killing two birds with one stone. Sure you can put down weed barrier but in my opinion,it's kind of a pain and some weeds will just rip right thru the fabric. Just dump your grass clippings in your garden and spread them around. It works as a natural barrier during the season (sorta, still have to weed sometimes) and then as compost when your churn your soil up in the fall when it's all over.


Bell Pepper


Hope everyone has a happy and safe 4th of July!


Tuesday, June 8, 2010

The Best Caprese Salad Ever

Well, hello there. Yes, I know it's been a while. I have missed all of you. And I know at least one of you missed me ;) I haven't had internet for the past week. Pain. In. My. Ass. So I've got some catching up to do...

Before we start talking salad, I first have to make mention to the most wonderful new store I had the pleasure of visiting on Monday. It's called
Seasons Tap Room and it offers a variety of high quality imported olive oil and balsamic vinegar. Everything was available for tasting and I definitely took advantage. My husband watched me in horror as I tapped tiny amounts of the oils and vinegars into plastic shot glasses. Like the same face I'd imagine him making if I downed gasoline or something. Funny coming from a man who thinks sardines are delicious. To each their own I guess. Anyway, I decided on a Tuscan Herb Infused Olive Oil and their 18 yr Aged Balsamic (most popular seller). Considering I had planned on making this for dinner, the timing couldn't have been more perfect.


When the weather warms up, we eat tomato & mozzarella salads (aka caprese salads) quite a bit. The last thing I wanna do on a hot day is eat some heavy, super carby dinner that just makes me wanna take a big nap afterwards. I saw cutie pie Curis Stone make this on Oprah last spring and finally remembered to dig it out and give it a try. The following recipe is my version because well...

1) who the hell has grapeseed oil in their house?
and
2) I didn't have enough sesame seeds
and
3) It's totally against my nature to follow directions

Tomato Mozzarella Salad with Sesame Crusted Chicken Tenders
adapted from Curtis Stone
serves 4

12 Chicken Tenders
1/3 cup toasted sesame seeds
1/3 cup bread crumbs
salt and peppper
3/4 cup plus 2 tablespoons extra virgin olive oil
1/4 cup balsamic vinegar
1 small shallot, minced
10 oz green leaf lettuce (can subsitute spring mix, baby spinach or romaine)
handful of fresh basil leaves
1 small red onion, thinly sliced
6 medium tomatoes, halved & cored
1 ball fresh burrata mozzarella, cubed

Directions:

1)Combine sesame seeds, bread crumbs, salt and pepper on a plate. Heat 1 tablespoon of olive oil in a large nonstick pain over medium-high heat.

2) Coat the 1st six chicken tenders in the crumb mixture and cook in pan for about 2 minutes per side or until golden brown. Transfer chicken to paper towel to drain. Heat another tablespoon of olive oil in the pan and repeat with the remaining 6 tenders.

3) Whisk vinegar, remaining olive oil and shallot in a medium bowl. Season the vinegarette with salt and pepper to taste.

4)Place the red onion, tomatoes, mozzarella and basil (if using) in large bowl with the salad greens and toss.

5) Divide the salad among 4 plates and place the chicken tenders on top. Drizzle with the vinegarette.


Let's be honest. This isn't anything groundbreaking. But it really WAS delicious and I chalk it up to the vinegar and oil. Just like with most anything else, you get what you pay for. And the flavor is so intense that a little bit goes a long way. Both bottles will probably last me the whole summer.

Seasons' website doesn't allow online purchases at this point so if you don't live in the area, you can try this
site. They sell an almost identical list of products and their prices are just a tad higher. Happy Shopping!

Wednesday, May 26, 2010

Cellllllllaaaaaaaaabrate good times......come on!

So, I got a job yesterday. Yea to that! But boooo to the fact that this happened 3 weeks and 2 days into what has been a blissful unemployment. I was hoping to have a whole job free summer and pretend I was a kid again. Yeah well. It was an opportunity I couldn't pass up. No worries though. I have vowed to keep the momentum going on my little project here.

So with that said.....I whipped up these after I got the offer call yesterday. I had been meaning to use that leftover lime from the meltaways last week so here ya go...

Strawberry Basil Mojitos
Makes 2 drinks


4 oz light rum
1 1/2 oz simple syrup
3 large strawberries sliced
1/2 lime sliced
sprig of mint
4 or 5 basil leaves
club soda

Muddle the strawberries, lime, mint, basil and simple syrup in a cocktail shaker. Add light rum and ice. Shake until well-combined. Pour into a highball glass about 3/4 and top off with club soda. Stir and enjoy!


I'm a bit of a garnish junkie so I sliced another strawberry in half and cut a notch in the top to make a little heart. Awwww....

Oh and I should mention that this was attempt to copycat a similar drink I had at some pretentious local restaurant. I was there with some girlfriends for a happy hour and guzzled 3 of them. They were so delicious but also cost like 10 bones a piece. Ridiculous, I know! I think my version turned out well except that it could have had more basil taste. Next time I think I'll add a few extra leaves and julienne them so they dispurse more evenly in the simple syrup.

Wednesday, May 19, 2010

Lime Meltaways

So yesterday was a craptacular day. And by craptacular I mean that rainy, gloomy, cold kind of day where you just wanna stay under the warmth of your covers and watch Cash Cab. Unfortunately, I had some things to tend to so an afternoon in bed was not in the cards.

However, if there's one thing I can't stand, it's being cold and my house was freezing. Sure I could have cranked the heat but the stubborn part of me said "It's freakin' May. People should not be running heat in MAY!" So I did what I always do to warm up. Took a screaming hot shower....the kind where you're like just shy of giving yourself 2nd degree burns. And then I decided to bake something. It's gotta be more efficient to warm up the house with the oven rather than the furnace, right? And the furnace doesn't make cookies either.

So yeah, I decided on Lime Meltaways from Martha Stewart. I've had it in my "recipes to try" folder for a while and it sounded like a perfect summer-y kind of dessert to make me think of warmer weather. I stuck to her recipe except I increased the amount of zest and juice. I read reviews that the original was a little lacking in the lime taste...

Lime Meltaways
adapted from Martha Stewart

Makes 3-4 dozen

3/4 cup (1 1/2 sticks) unsalted butter, room temp
1 cup confectioners' sugar
Zest of 3 limes
4 tablespoons fresh lime juice
1 tablespoon pure vanilla extract
1 3/4 cups plus 2 tablespoons all-purpose flour
2 tablespoons cornstarch
1/4 teaspoon coarse salt

Directions:

1) Put butter and 1/3 cup confectioners' sugar in a bowl and mix on medium speed until pale and fluffy. Add lime zest, juice and vanilla, and mix until fluffy.

2) Whisk together flour, cornstarch, and salt in a bowl. Add to butter mixture, and mix on low speed until just combined.

3) Divide dough in half. Place each half on an 8x12 sheet of parchment paper. Roll in parchment to form a log 1 1/4 inches in diameter. Refrigerate logs until cold and firm, at least 1 hour.

4) Preheat oven to 350 degrees. Remove parchment from logs and cut logs into 1/4 inch-thick rounds. Space rounds 1 inch apart on baking sheets lined with parchment paper. Bake cookies until barely golden, about 13 minutes, rotating sheets halfway through. Transfer cookies to wire racks to cool slightly, 8 to 10 minutes. While still warm, toss cookies with remaining 2/3 cup sugar in a resealable plastic bag. Cookies can be stored in airtight containers at room temperature up to 2 weeks.


Lemme start out by saying that the original recipe claimed it made 10 dozen. That's a load of crap. I even measured my logs with a ruler so I know they were the right size. They must use magical flour or something in the Martha Stewart test kitchen because I only got about 40 cookies out of it.

Anyhoo, I love that my camera has a food setting on it. I'm so happy with how these turned out.....


I only used 2 of the 3 limes I zested to get the 4 tablespoons of juice. No worries though...I have big plans for that naked lime in my produce drawer...


I use a cheapy Proctor Silex hand mixer that I bought when I moved into my first apartment. The thing is a beast and still works like a charm 12 years later. Still, I dream to own this one day...


Woah...what's that you ask? It's HOMEMADE vanilla extract given to me by one of my most favorite people ever. I hope to do a collaborative blog post with her at some point because well, she's awesome!


See Martha, I measured. What gives?


Oohhh, pretty :)


They're not much to look at but wait....


Tah Dah!


The verdict? Very easy to make and they are pretty delish....and cute looking too. I can totally see Martha serving these for afternoon tea with her lady friends.

Yeah, it'll be a cold day in hell before I host an afternoon tea. I'm thinking more like reggae show in the park with my girlfriends tomorrow. Yeah mon!

Friday, May 14, 2010

Gardening, Phase 1

So after several days of cold, gloomy weather, the sun finally reappeared yesterday. It was a nice surprise because the forecast was calling for more of the same. My initial plan was stay in and mix up a fun cocktail to post. But instead, I took advantage of the nice day and got some planting underway....

geraniums


new guinea impatiens - one of my faves!


snapdragons

Not quite sure how the snapdragons will do because they like full sun and most of my yard gets part sun. I try to plant what'll work best but these were just so damn pretty and free, I might add. Thank you mommy!

So...next step is planting my veggies and herbs. I've done an herb garden for the past 6 years but this will only be the 2nd year planting veggies. It's definitely a learning process. Last year my tomatoes got hit with blight (like much of the northeast) so I'm hoping for a drier spring so I can get a full crop. Also planting lettuce and peppers. I started all my veggies from seed...much cheaper that way and it's really not that hard. Herbs are another story. I bought my plants this year after having bad luck starting from seed last year. They are just too finicky. And since lettuce and herbs are like bunny candy, my handy husband was nice enough to make me these super awesome boxes to grow them in...


I'll leave you with a few shots of the garden I took yesterday. I'm really trying to hone my photography skills...which is my case is just trying to figure out all the settings of my new Nikon P90.

Oh and there's a lot more to come. I have a crapload of recipes to review and I plan to take this whole blog train to my own domain name in the near future. In the meantime, I'd love if you'd sign up to follow me :) Have a lovely weekend everyone!


we've named him jimmy hosta


1st bday present I received from my husband


Saturday, May 8, 2010

Mother's Day Bouquet Cards

When I can sit down and devote some serious hours to a project, paper crafting is definitely tops on my list. As a little girl, I was obsessed with paper and stickers. I used to ride my bike to the local stationery store all the time and just gawk at the gigantic rolls of stickers and racks upon racks of beautiful printed paper. Pretty much every cent of my allowance was spent at that store. I didn't really do anything with my stash of treasures other than just stare at it once I got it home. Back then, my funds were pretty limited so I didn't dare peel any of those precious stickers from their backing paper and gasp...actually make something with them.

Nowadays, ummmmm...things pretty much haven't changed except that I'm trying to keep the hoarding in check. I've gotten to the point when I only go to the craft store if I have something specific to buy. I've gotten myself into too much trouble when I stop in "just to look around". My goal is to try and use what I've got.

Well, I'm proud to say I created these cute mother's day cards and didn't have to spend a cent! And I think they turned out pretty well. No stickers on these but I just love the glittered daisy embellishments. It gives the card a whole 3D effect.


And there you have it...simple yet beautiful. The daisy embellishment came with these pretty fugly looking fasteners so opted to just use a little tacky glue to adhere them to the card and covered the hole in the flower center with a mini rhinestone.

I can't wait to give these to the special moms in my life tomorrow. It's pretty much in mom DNA to appreciate anything handmade....even those gross ashtrays that we all made in art class. Happy Mother's Day Everyone!